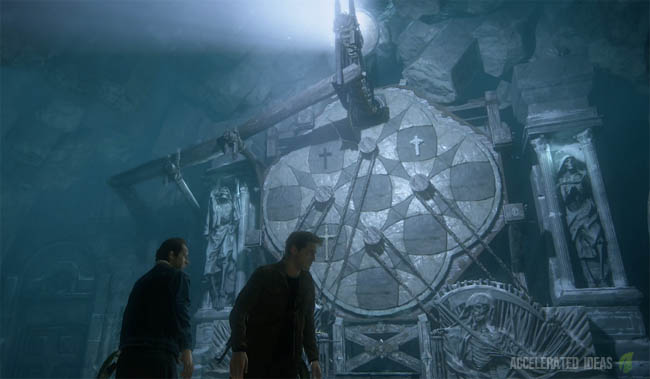
Uncharted 4 - Chapter 9 Puzzle Solution (Four Dials with Three Crosses)
Posted in
uncharted 4
Chapter 9 contains one of the harder puzzles in Uncharted 4 that consists of Four Dials and requires the use of a Water Bucket and the correct alignment of Three Crosses. In this guide you'll find a complete walkthrough for solving this particular puzzle in just a couple of minutes.
First a little background to this puzzle and when it actually appears in the game. Leading up to Chapter 9 we have already taken a dangerous path deep underground through a series of pirate caves in Scotland. There were many perilous opportunities to perish along the route with broken rope bridges and crumbling mine shafts to name just a few.
Less than a couple of minutes into Chapter 9 and the games harder puzzles presents itself. Consisting of a four circular dials and three crosses, players must align a water bucket and the crosses in a precise position to complete the puzzle.
Video
For a short video solution see the link below, otherwise follow the text guide underneath.
 Chapter 9 - Puzzle Solution
Step by Step

1. Activate the puzzle
![Skeleton hand in wall by locked door]()
Face the four dials and look to your immediate left. There is a locked door and a skeleton with his arm inside the stone wall. Walk over to this poor fellow and interact to pull his hand out of the wall and trigger the first part of the puzzle.
2. Fill the bucket
![Water bucket]()
Next, take the bucket from the lower section of the puzzle. Turn to your left, walk forward and drop down the edge to the pool of water below. Press Triangle to fill the bucket with water and then pass it back to Sam up above. He will take it over to the puzzle and reinsert it into the lower dial of the puzzle.
The two outer sections of the puzzle will crumble into the floor and four lights will appear on the puzzle dials. Three of the lights will appear in the middle and a single light shines at the top. Pay attention to their position because it's important.
3. Read Journal
![Journal page]()
Open up the Journal to reveal the Three Crosses and the secret to solving this puzzle. Note the position of the Three Crosses on the right hand page. This is the exact position you must replicate on the puzzle dials, with each cross sitting in one of the lighted up panels.
The large white cross belongs in the middle, flanked on the left by the smaller white cross and the black cross on the right.
4. Get bucket on top first
![Four panels]()
Next, the actual beef of solving this puzzle. You must use the four wheels at the bottom of the puzzle to rotate each of the dials above. As each dial rotates the panels move position; either clockwise or anticlockwise depending which way you turn.
Since many of the dials overlap, each of the panels can be impacted by more than one wheel depending on it's current position. The panels in the middle of the puzzle are most at risk of interference and you can use this strategy to your advantage. The pre-positioning of the crosses and thinking ahead to your next move is essential if you want to solve this one correctly.
Four wheels:- First wheel rotates the left dial
- Second wheel rotates the top dial
- Third wheel rotates the bottom dial
- Fourth wheel rotates the right hand dial
To simplify the process start by turning the dials to get the Water Bucket to the very top position whilst avoiding any crosses in the top dial. Make sure the bucket is sitting in the shining light as shown in image above.
Once it's there we can safely play with the other dials without worrying about moving the bucket inadvertently.
5. Separate the crosses
![Three crosses in seperate dials]()
Rotate the dials so that the larger white cross (Jesus) is on the left dial, the smaller white cross is on the bottom dial and the black cross is on the right hand dial.
Ensure that the smaller white cross is at the very bottom. Keep the large white cross and black cross on the very edge, away from the central dial. This will avoid interference, helping us complete the puzzle very quickly.
6. Complete the puzzle
![White cross next to small white cross]()
Now rotate the left hand dial so the large white cross is next to the small white cross at the bottom, as shown in image above.
![Black cross next to white cross]()
Next rotate the right hand dial so the black cross is next to the large white cross in the middle, as shown in image above:
![All three crosses in correct position]()
Finally rotate the bottom dial clockwise once to complete the positioning of the crosses. See image above.