Richtofen Easter Egg All Steps - Black Ops 2 Zombies Buried
Posted in
black ops 2
The alternative Easter Egg for Black Ops 2 Zombies Buried is for Richtofen and the steps are very similar to the Maxis. In short, Richtofen's Easter Egg involves building and powering the Guillotine, searching the bodies, activating the switches and finally hitting the targets.
In our Maxis guide we said that the Maxis Easter Egg was the harder one to complete, but the Richtofen path is just as challenging. It's got an easy start but can become time consuming when you need to find the Paralyzer and Time Bomb from the mystery box.
Requirements
To complete the Easter Egg you must have:
- 4 players
- Paralyzer Weapon
- Vulture Aid
- Galvaknuckles
- Time bomb
As with other Easter Eggs, particular characters receive instructions. In this case, if you're playing as Samuel you'll receive the instructions from Richtofen. The audio is actually really funny and makes this easter egg a lot of fun.
Ok, here are the steps for Richtofen..
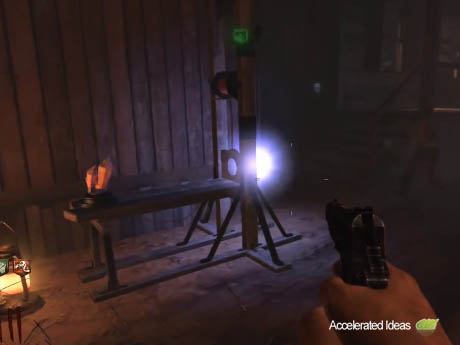
Step 1 - Build the guillotine
The parts for the guillotine are scattered around the early areas of the map. They're very easy to find and you can assemble the Guillotine in round 1. We've got a full tutorial for this step here:
Buried Easter Egg - Guillotine PartsThe important thing to remember is that some of the parts for Richtofen are shared with the parts for the Maxis Easter Egg. It's important that you don't use any parts on the Gallows build or you'll go down the wrong path.
Step 2 - Power the Orbs
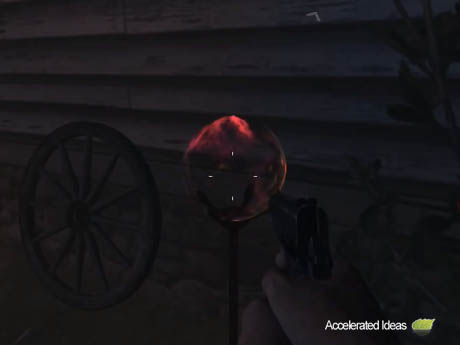
There are four orbs scattered around the map. You must power the orbs using the new wonder weapon (The Paralyzer) which can only be found in the mystery box. This part can be time consuming because it's the luck of the draw.
To power the orbs, simply stand in front of one and fire the
Paralyzer until the orb turns white. A ding sound will be heard once enough power has been provided.
We've got a full tutorial for finding the orbs here:
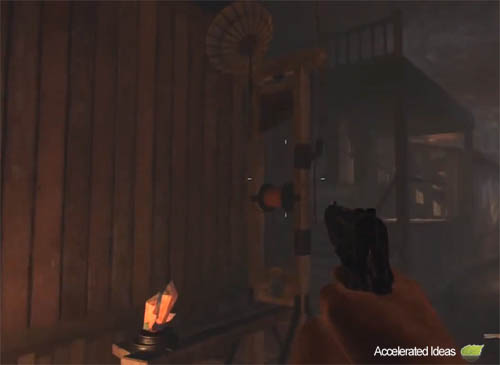
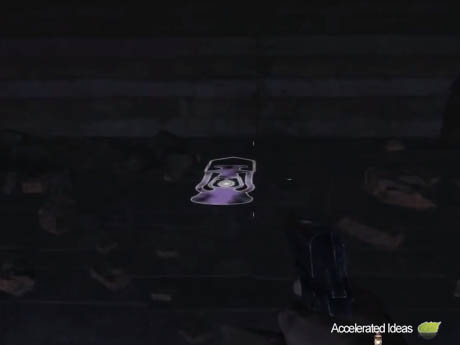
Buried Easter Egg - Orb LocationsStep 3 - Get the lantern
Once step 2 is complete, a purple lantern will hover over the map. The best place to find the lantern is near the grave yard, outside the ghost mansion. Simply throw a grenade and get it to explode near the lantern. It's important to 'cook' the grenade first so it'll explode sooner.
Successfully hitting the lantern will make it fall to the floor, at which point you can simply pick it up.
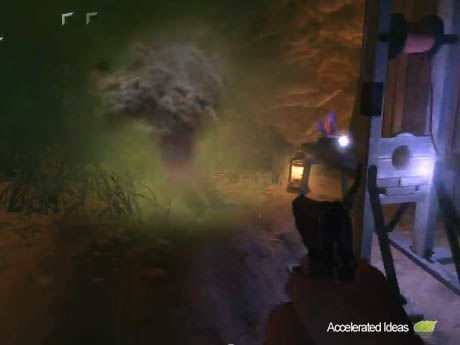
Step 4 - Power the lantern
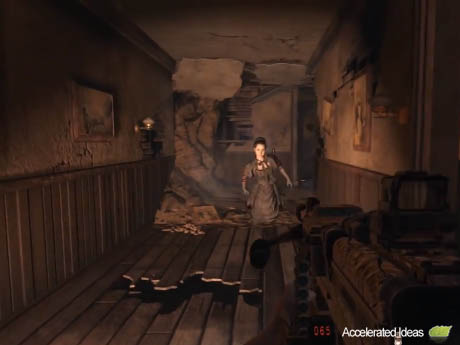
Similar to the Maxis EE, in this step we're going to power the lantern by providing energy. For Richtofen, you need to kill the Ghost Woman to provide the energy. To do this, go into the Ghost Mansion and kill the Ghost Woman in close proximity to the lantern.
For each successful kill, you'll hear a 'ding' sound. Repeat this step (8-10 times) until Richtofen talks again.
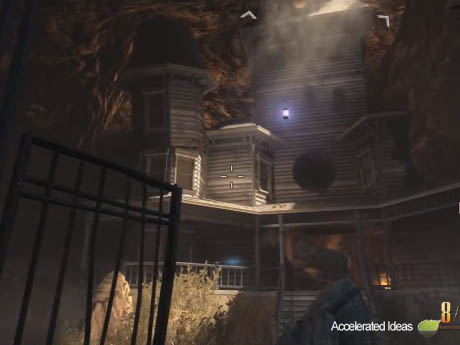
Step 5 - Place the lantern
Place the lantern on top of the roof of the Gunsmith (where the purple outline appears). You can reach the roof by jumping from the balcony of the Saloon building. This is the same step as Maxis.
Once placed, the cryptic (tic-tac-toe) symbols will appear on the wall.
Step 6 - Bash the signs
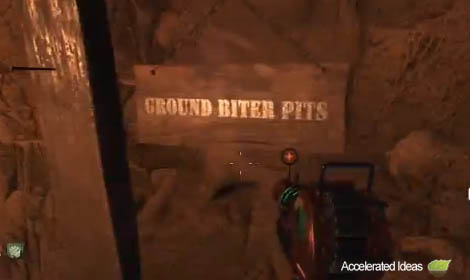
Use Galvaknuckles to bash 3 signs in the mineshafts. The signs which must be hit are determined by decrypting the symbols on the wall. We've covered how to decrypt the symbols in our Maxis EE tutorial here:
Buried Easter Egg - Decrypt SymbolsOnce successfully done, a glowing purple ball will appear which is called the Wisp.
Note: You can only see the Wisp if you have the Vulture Aid perk.
Step 7 - Catch the Wisp
The glowing purple ball will move rapidly across the map and you'll need to catch it. Once caught the ball will teleport to another location and you'll need to catch it again. Once it's been caught several times, it'll teleport to the Guillotine.
To complete this step, we recommend having several players spread out (all with Vulture Aid). Each player will need to spot the Wisp and catch it as it teleports around the map.
Step 8 - Power the Guillotine
Once the Wisp has arrived at the Guillotine you need to power the crystals. To complete this step, just kill zombies in close proximity to the Guillotine. For every killed zombie, a small blue ball should emanate and hover over to the Guillotine.
You must repeat this step 5 times to get 5 glowing orbs.
Step 9 - Use the time bomb

Use the time bomb to travel to round infinity. Although you can place the time bomb anywhere near the Guillotine, we recommend placing it on top of the Guillotine and having all the players in close proximity.
Now activate the time bomb to travel to round infinity.
Step 10 - Search bodies
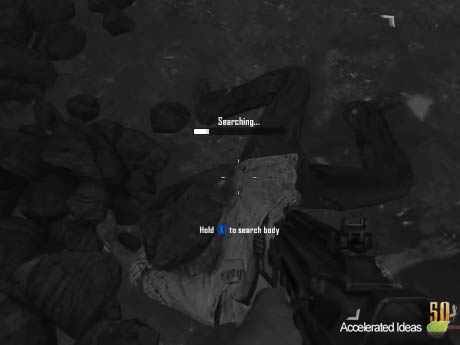
One of the more time consuming steps. In this step you need to search several dead bodies to find the Switch. Each of the dead bodies is one of the characters and they're spread out across the map.
To search a body, walk up to it and the usual X prompt will appear, allowing you to search the body.
The location of the bodies is random every game, but the possible areas are listed below:
- In front of Gunsmith
- Besides Barn (navcard table components area)
- In front of Jail Cell
- Between Barn and General Store
- In front of General Store
- Between General Store and Candy Store
- Graveyard
- By orb outside the Court House
- Inside Court house, near workbench
- Inside the church
- In front of the Saloon
- Near Guillotine
There are always only 4 bodies, and the Switch will be on one of the bodies. Once found, pick up the Switch part and make your way back to the Guillotine. Build the switch into the Guillotine.
Step 11 - Activate Switches in Maze
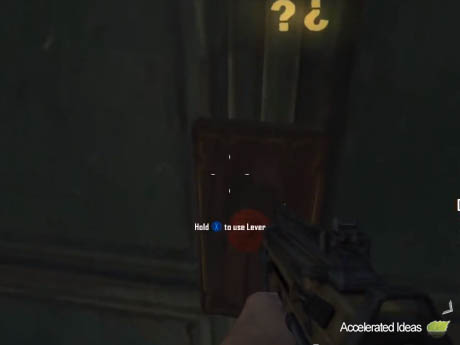
In this step, you need to be in the maze which is behind the Ghost Mansion. There are 4 coloured switches which need to be activated. Each switch is located on one of the green doors which signify a dead end.
The order that the switches need to be activated is random. However, you can guess the order by trying each switch and once activated they stay switched on.
Step 12 - Break the fountain

Breaking the fountain in the grave yard is the next step and it's very easy with some help from Leroy (Huckleberry). Simply tease Leory into the grave yard and get him to run into the fountain by feeding him sweets.
Step 13 - Make a Wish
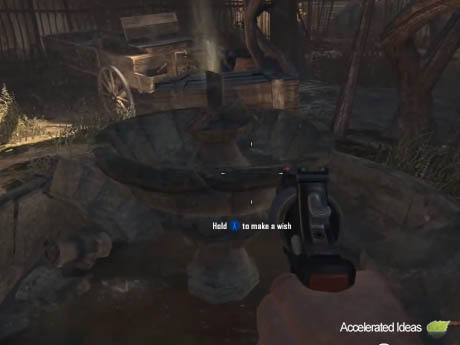
Once the fountain is broken, you can make a wish by simply walking up to the fountain and pressing X. The cowboy targets will start popping up and the Easter Egg is almost complete.
Step 14 - Shoot the targets
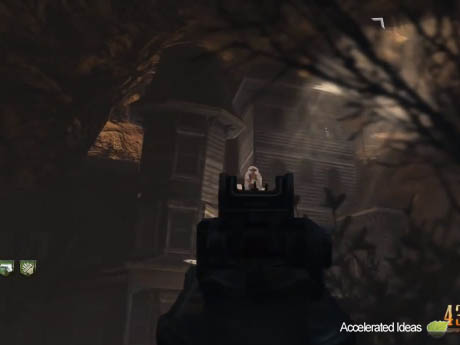
This is the hardest part of the Easter Egg and you need all 4 players to complete it. Each player must hit the corresponding target (in one of the four locations) simultaneously. The locations where the targets appear are:
- Ghost Mansion (windows)
- Candy Shop/Court Room
- Inside Saloon
- Jail House
It's important to hit every single target.
Easter Egg Complete!
That's it, you've completed the Richtofen Easter Egg on Buried so enjoy the humorous commentary from Richtofen and also the free perks!